Let's Build an Investarms Gemmer Hawken Kit Part 1: Unboxing and Planning
Today we're officially starting our InvestArms Gemmer Hawken Kit building series. This series will cover the construction of this muzzleloader kit, the tools needed, and several different processes of wood finishing and metal finishing.
Hawken Resources:
The BEST Book on Hawkens and their history
In this video, we're unboxing the kit to get a detailed look at each of the parts before we move onto assembly. I talk about each of the Hawken parts, their purpose and place on the muzzleloader, some of my top tips for muzzleloader kit building, and my recommendations on what to research before starting.
Overall, I’m really pleased with the quality of these parts. I haven’t had a chance to look at the lock yet, but the rest of the hardware is good quality and heavy in weight. So many of these mass produced kits and their hardware don’t weigh anything, the parts are thin and feel cheaply made. That is not the case with this Investarms Gemmer Hawken.
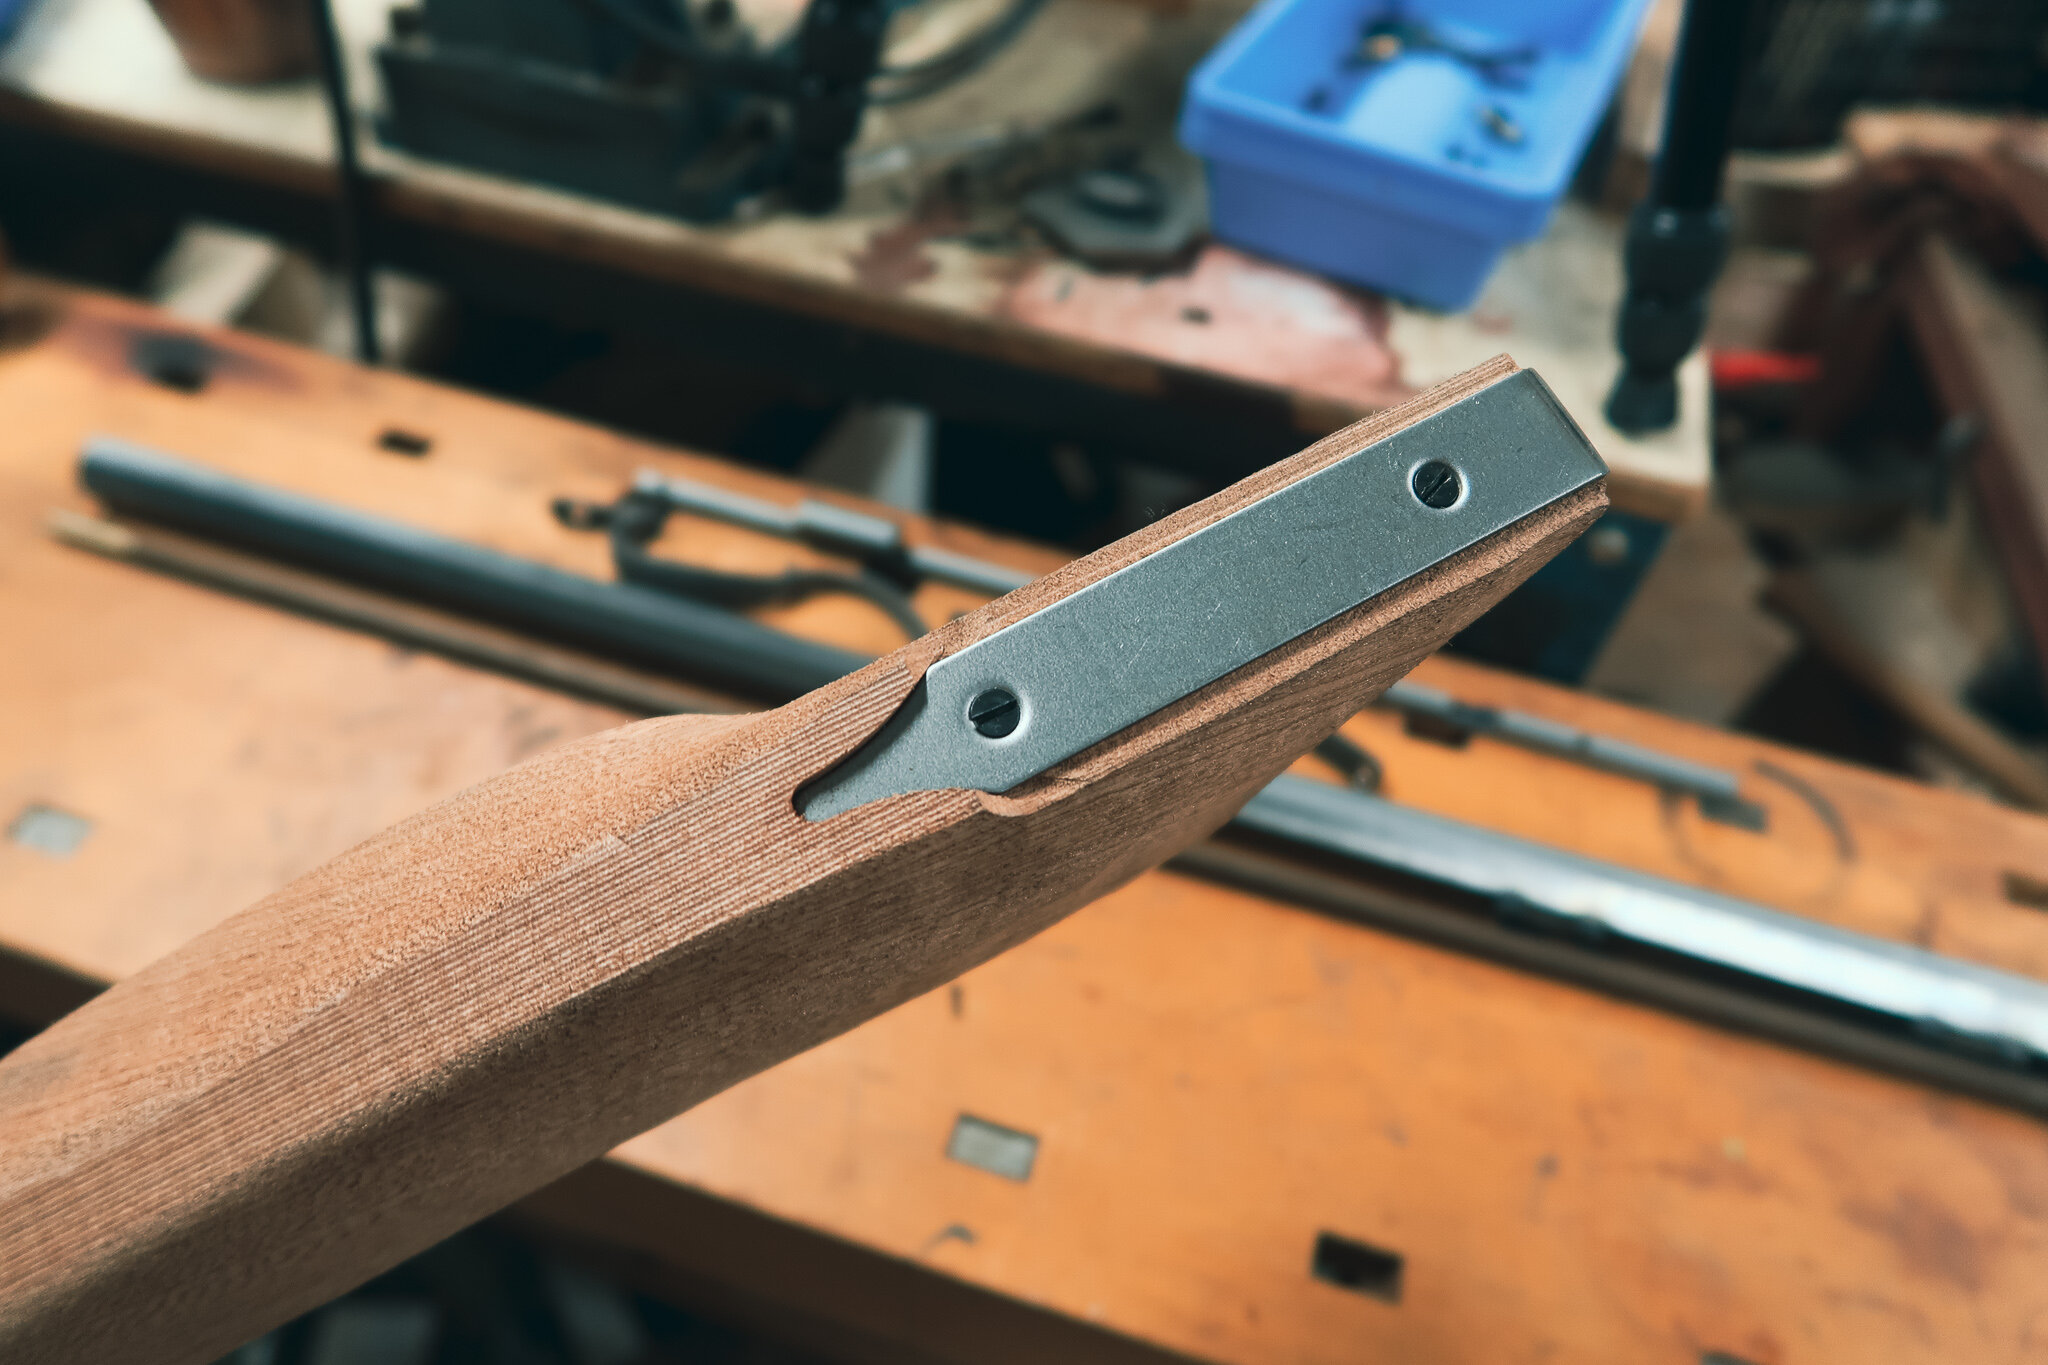
All of the hardware comes inlet on this kit. The butt plate, toe plate, lock, lock bolt washer , nose cap, entry pipe and trigger assembly come attached to the stock. It looks like the only pieces we really need to dry fit to the stock are the trigger guard, barrel, and barrel tang. While I expect the trigger guard to be a little tricky, they always are on these kits, the barrel tang and barrel should be a piece of cake.
As I said, the inlets are done for us, but the stock is not totally shaped. Investarms pre-carves the cheek rest and forstock for us, but the wrist is still bulky and rough. There is about 1/16th-1/8" of wood all around the stock that will need taking off before we can call this kit done. This amount of wood may seem like a lot for the cost of this kit, retailing for over $500, but it is a welcome change from some cheaper kits, all of which don't leave enough wood to do much of anything beyond sanding and staining. I'm not sure I will go far with the wood finish on this kit, but knowing we have some extra wood here to play with carving and inlays is great for a production kit. According to Muzzle-loaders.com, the stock is made from English Walnut.
The kit comes with a wooden ramrod with two brass ends. One end has a loading jag for our roundballs, the other has a threaded end for our jags and tools.
That's all for the parts on this kit, now I'd like to talk about my plans for the kit. I think it is valuable to plan your projects, even with someone simple like a muzzleloader kit. I like to gather references for my final look before I start building so I can work with a specific goal in mind. For this kit, I'll be borrowing the look of the famous "Liver eating Johnson" Hawken. While I know going in I won't be able to make this look like a fine original Hawken, my goal is to replicate the dark metal finish with some rust browning, as well as the color and wear on the stock with some hand tools and bone black. With these ideas in mind, I print off a picture of my reference to keep on the bench, this way it's always there to easily guide my hand through the entire process.
In the next part of this series, we will cover some of the tools needed for this project and then we will move onto fitting the parts!
If you have any questions about this kit or the techniques I'm using, leave them in the comments below. I will address as many comments as I can in videos associated with this series to give you as much detail as I can about the answer.


